
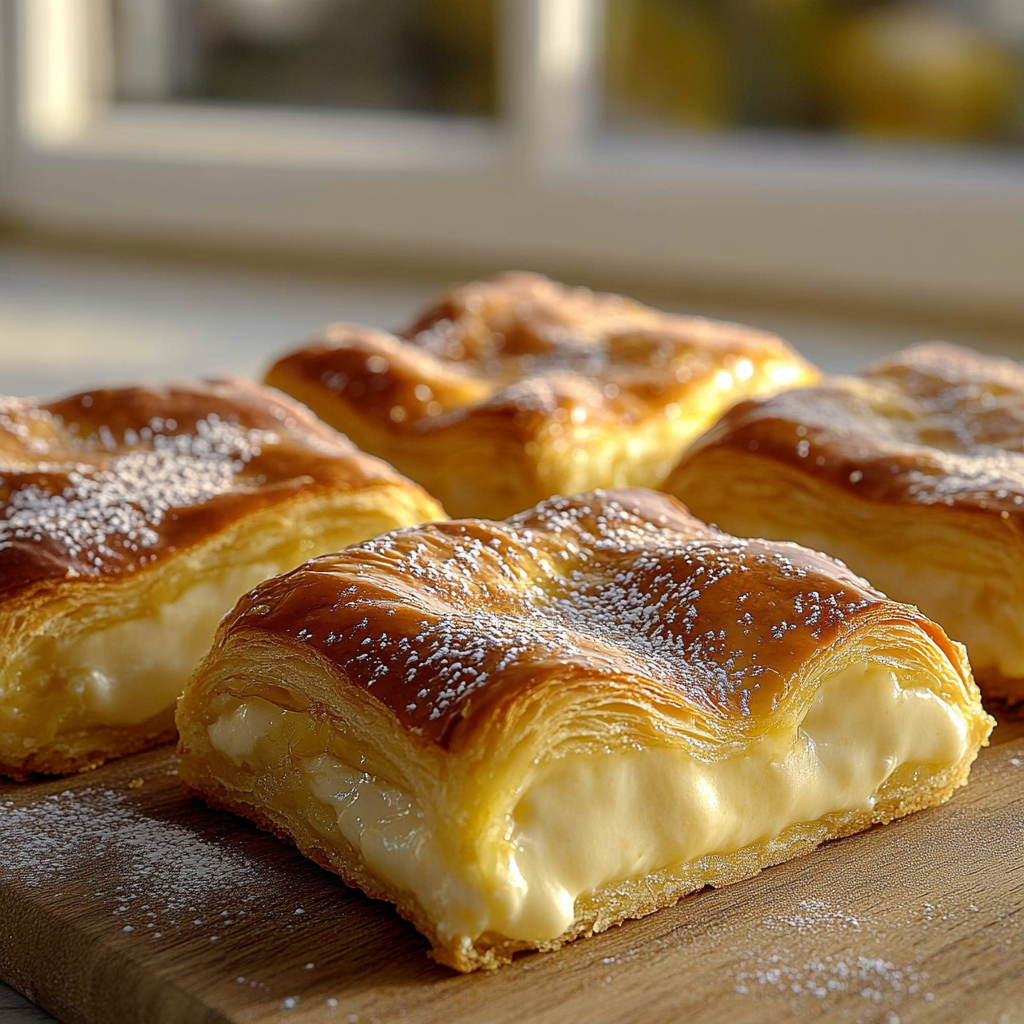
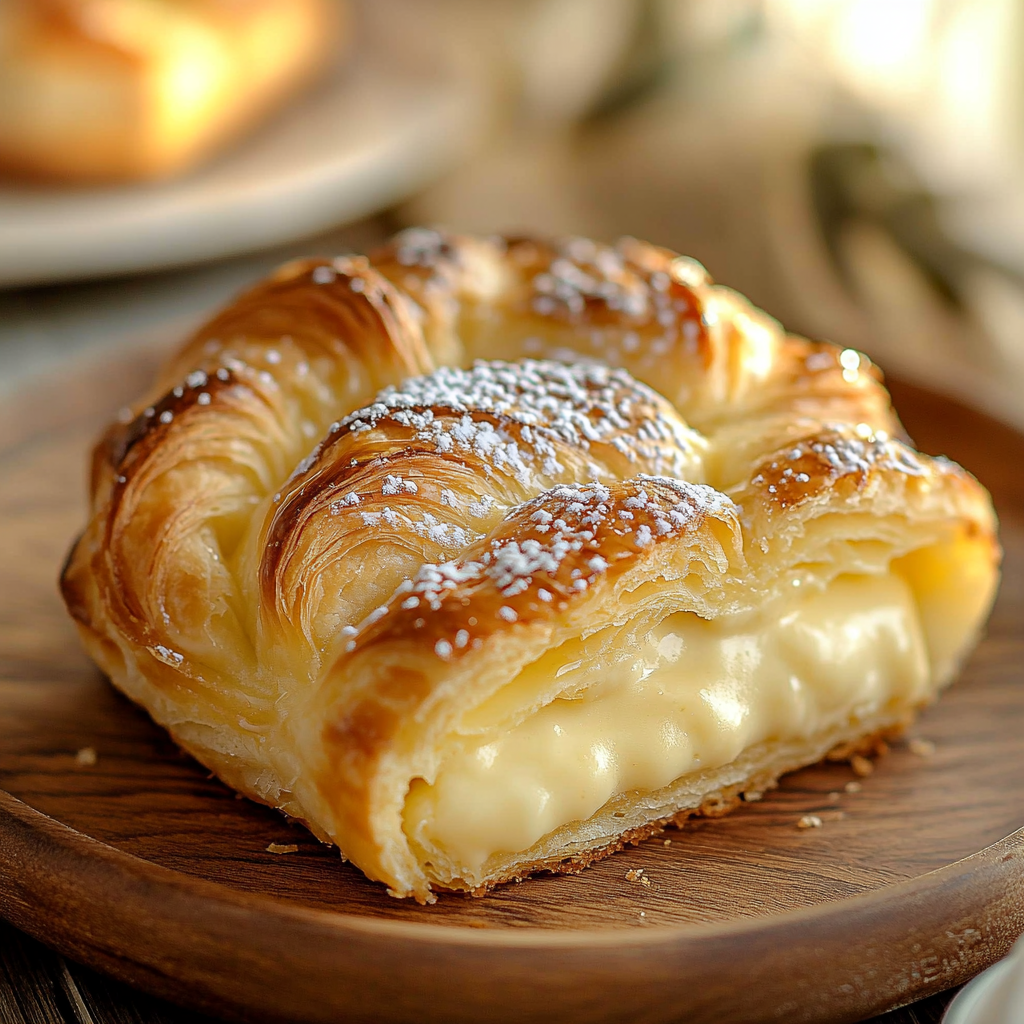
Have you ever craved a dessert that combines creamy goodness with a flaky texture? The Cheesecake Danish is the answer to your sweet tooth desires! This delightful pastry features a rich cheesecake filling enveloped in buttery dough, creating an irresistible treat that is perfect for any occasion.
Picture yourself slicing into a golden-brown Danish, the warm aroma wafting through the kitchen as you take your first bite. The velvety cream cheese filling bursts with flavor, complemented by the delicate sweetness of the pastry. Whether it’s brunch with friends, a cozy family gathering, or simply satisfying your cravings at home, this Cheesecake Danish promises to impress everyone who takes a taste.
Need something new? Find your next favorite here
Why You’ll Love This Cheesecake Danish
- Quick and Easy: Minimal prep time and straightforward steps make this recipe stress-free, even for novice cooks
- Flavorful and Versatile: Enjoy outstanding flavor with ingredients you can easily customize by adding your favorites or adjusting spices
- Perfect for Any Occasion: Ideal for casual gatherings, holiday celebrations, or weeknight dinners

Ingredients for Cheesecake Danish
Here’s what you’ll need to make this delicious dish:
- Puff Pastry: Use store-bought puff pastry for convenience; it creates a light and flaky base that’s easy to work with.
- Cream Cheese: Choose full-fat cream cheese for the richest flavor; soften it at room temperature before mixing.
- Sugar: Granulated sugar adds sweetness to the filling; adjust according to your taste preferences.
- Vanilla Extract: Pure vanilla extract enhances the overall flavor; avoid imitation for best results.
- Egg Yolk: An egg yolk adds richness and helps bind the filling together; save the egg white for brushing on the pastry.
The full ingredients list, including measurements, is provided in the recipe card directly below.
Looking for more flavor? Check this out!
How to Make Cheesecake Danish
Follow these simple steps to prepare this delicious dish:
Step 1: Prepare the Oven
Preheat oven to 375°F (190°C). Line a baking sheet with parchment paper to prevent sticking.
Step 2: Roll Out Puff Pastry
Thaw puff pastry according to package instructions. Roll out on a lightly floured surface until slightly larger than its original size.
Step 3: Make Cream Cheese Filling
In a mixing bowl, combine softened cream cheese, sugar, vanilla extract, and egg yolk. Beat until smooth and creamy.
Step 4: Cut and Fill Pastry
Cut the puff pastry into squares or rectangles. Spoon about one tablespoon of cream cheese filling onto each piece.
Step 5: Fold and Seal
Fold each square over diagonally to form triangles or bring corners together toward the center. Press edges firmly to seal.
Step 6: Bake and Serve
Brush tops with reserved egg white. Bake in preheated oven for about 20-25 minutes until golden brown. Allow cooling slightly before serving.
Transfer to plates and enjoy warm!
Tips and Tricks
Here are some helpful tips to ensure the best results for your dish:
- Keep Ingredients Cold: Ensure puff pastry stays cold until ready to bake for optimal flakiness.
- Customization Options: Feel free to add fruit toppings or chocolate drizzle after baking for extra flair.
- Storage Tips: Store leftovers in an airtight container in the refrigerator for up to three days.
Don’t stop here – more tasty ideas await!
How to Serve Cheesecake Danish
This Cheesecake Danish is versatile and pairs wonderfully with:
- Fresh Berries: The tartness of berries such as strawberries or blueberries adds a delightful contrast to the creamy cheesecake filling.
- Coffee or Tea: A warm beverage enhances the flavors and makes for an enjoyable afternoon treat.
- Whipped Cream: A dollop of whipped cream adds lightness and extra sweetness, making each bite even more indulgent.
Feel free to pair it with your favorite sides for a personalized meal!
Make Ahead and Storage
- Make Ahead: You can prepare the dough and filling up to a day in advance. Store the dough wrapped tightly in plastic wrap in the refrigerator for up to 24 hours. Prepare the filling and refrigerate it in an airtight container until ready to assemble.
- Storing: Leftover Cheesecake Danish can be stored in an airtight container in the refrigerator for up to three days. If you want to keep it fresh longer, consider freezing it for up to two months, ensuring it’s well-wrapped to prevent freezer burn.
- Reheating: To reheat, preheat your oven to 350°F (175°C). Place the Cheesecake Danish on a baking sheet and cover it with aluminum foil. Heat for about 10-15 minutes or until warmed through, ensuring the pastry stays crisp.
Try this mouthwatering dish next
Suggestions for Cheesecake Danish
Use Fresh Ingredients
Using fresh ingredients is crucial when making a delightful Cheesecake Danish. Stale or expired ingredients can significantly affect the flavor and texture of your pastry. Always check the expiration dates on dairy products, as they can spoil quickly. Fresh cream cheese will yield a rich filling, while recently purchased puff pastry ensures a flaky and tender crust. Avoid using frozen fruit that has been thawed multiple times, as this can lead to excess moisture in your filling. By prioritizing freshness, you enhance the overall quality of your Cheesecake Danish and create a more enjoyable dessert.
Don’t Overmix the Filling
Overmixing your cheesecake filling can cause it to become too airy and lose its creamy texture. When blending cream cheese, sugar, and eggs for your Cheesecake Danish, mix just until smooth and combined. If you overbeat the mixture, you may incorporate too much air, leading to cracks during baking. A smooth consistency is essential for achieving that perfect creamy mouthfeel once baked. Remember to scrape down the sides of the mixing bowl as you go to ensure even mixing without overdoing it. Maintaining the right consistency will make your dessert more visually appealing and delicious.
Monitor Baking Time
Baking time plays an essential role in achieving the perfect Cheesecake Danish. Underbaking can result in a soggy center, while overbaking may lead to dryness or cracking on top. Keep a close eye on your pastry as it bakes, checking for a golden-brown color and set filling. Every oven is different, so consider using an oven thermometer to ensure accurate temperatures. It’s helpful to start checking for doneness a few minutes before the recommended time. Once removed from the oven, let it cool gradually to avoid sudden temperature changes that might affect its structure.
Allow Proper Cooling
Cooling your Cheesecake Danish properly is vital for maintaining its shape and texture. After removing it from the oven, avoid cutting into it immediately; this can cause the filling to spill out or collapse. Instead, allow it to cool at room temperature for about 30 minutes before transferring it to the refrigerator for at least two hours. Chilling helps set the cheesecake filling further and enhances its flavor by allowing all components to meld together beautifully. This technique results in an enjoyable dessert that holds its shape when served.
FAQs
What are some variations of Cheesecake Danish?
There are numerous variations you can explore when making Cheesecake Danish! You could experiment with different fruit toppings like berries, peaches, or apples to add unique flavors and textures. Additionally, consider incorporating flavored extracts such as vanilla or almond into your cream cheese filling for extra depth of taste. For a chocolate twist, swirl in some melted chocolate before baking or top with chocolate ganache after cooling. Each variation allows you to personalize your Cheesecake Danish according to seasonal fruits or personal preferences.
Can I make Cheesecake Danish ahead of time?
Absolutely! Making a Cheesecake Danish ahead of time is convenient and often improves its flavor as it rests in the refrigerator. You can prepare the pastry dough and cheesecake filling a day in advance; simply store them separately until you’re ready to assemble them before baking. Once baked and cooled properly, wrap it tightly with plastic wrap or store it in an airtight container to maintain freshness if you’re holding onto leftovers. This way, you’ll always have a delicious dessert ready when unexpected guests arrive!
How do I store leftover Cheesecake Danish?
To store leftover Cheesecake Danish properly, allow it to cool completely first before wrapping it up. Use plastic wrap or aluminum foil to cover individual slices securely or place them in an airtight container if storing larger portions. Refrigerate your leftovers for up to 3-4 days; this helps maintain their freshness without sacrificing flavor or texture. For longer storage periods, consider freezing portions instead—just ensure they are well-wrapped in freezer-safe packaging! Thaw overnight in the refrigerator when you’re ready to enjoy again.
Can I use low-fat ingredients in my Cheesecake Danish?
Using low-fat ingredients is possible when making a lighter version of Cheesecake Danish! You can substitute regular cream cheese with low-fat options without sacrificing too much flavor; however, ensure that you don’t compromise on texture by choosing high-quality alternatives. Similarly, consider using low-fat sour cream or Greek yogurt instead of heavy cream for added creaminess with fewer calories. Just remember that changing fat content may alter baking times slightly; keep an eye on your pastry while it’s in the oven!
Explore more delicious options
Conclusion for Cheesecake Danish
In conclusion, crafting a delightful Cheesecake Danish requires attention to detail and care throughout each step of preparation and baking. Prioritize using fresh ingredients while avoiding common mistakes like overmixing fillings and improper cooling techniques for optimal results. Remember that monitoring baking times closely ensures each bite remains perfectly balanced between flaky pastry and creamy cheesecake goodness without drying out or becoming soggy. With these tips in mind along with helpful variations and storage advice provided through our FAQs section above, you’ll be well-equipped to impress family and friends with this irresistible treat! Enjoy every moment spent creating your own homemade masterpiece!

Cheesecake Danish
- Total Time: 40 minutes
- Yield: Serves 8
Description
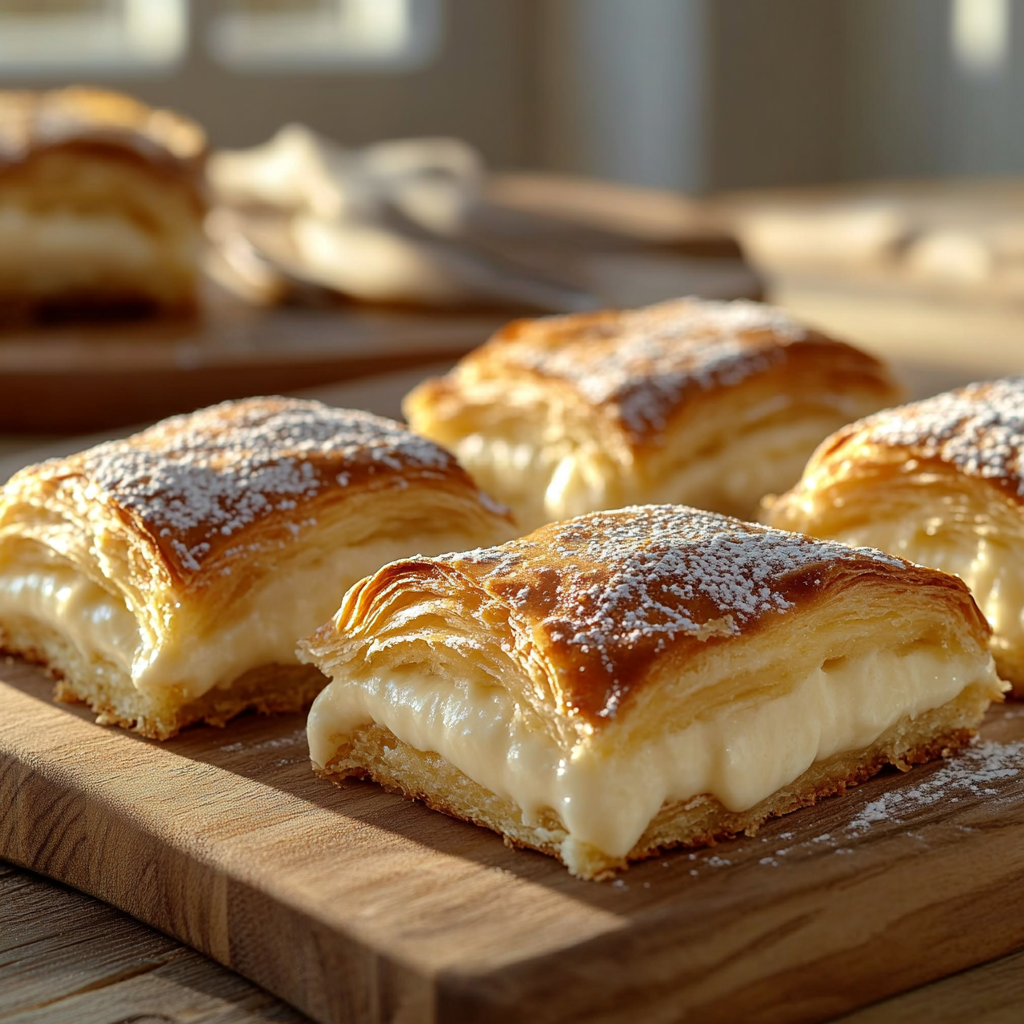
Cheesecake Danish is a delectable pastry that perfectly marries the creamy richness of cheesecake with a light, flaky crust. Ideal for brunch, dessert, or special occasions, this pastry features a sumptuous cream cheese filling enveloped in golden puff pastry. With minimal prep time and straightforward steps, you can whip up this delightful treat that’s sure to impress family and friends. Indulge in the velvety texture and sweet flavors of this irresistible Cheesecake Danish!
Ingredients
- Puff pastry
- Cream cheese
- Granulated sugar
- Vanilla extract
- Egg yolk
Instructions
- Preheat the oven to 375°F (190°C) and line a baking sheet with parchment paper.
- Roll out thawed puff pastry on a lightly floured surface.
- In a bowl, mix softened cream cheese, sugar, vanilla extract, and egg yolk until smooth.
- Cut the pastry into squares and place a tablespoon of filling on each piece.
- Fold over to form triangles; seal edges tightly.
- Brush tops with egg white and bake for 20-25 minutes until golden brown.
Notes
Customize by adding fruit or chocolate drizzle after baking.
Store leftovers in an airtight container for up to three days; freeze for longer storage.
- Prep Time: 15 minutes
- Cook Time: 25 minutes
- Category: Dessert
- Method: Baking
- Cuisine: Pastry
Nutrition
- Serving Size: 1 serving
- Calories: 250
- Sugar: 8g
- Sodium: 210mg
- Fat: 15g
- Saturated Fat: 8g
- Unsaturated Fat: 5g
- Trans Fat: 0g
- Carbohydrates: 26g
- Fiber: 1g
- Protein: 4g
- Cholesterol: 50mg